This version of PwnageTool ONLY works with iPhone 3G, iPhone 3GS (old bootrom) and iPod Touch 2G (old bootrom), the other devices are not supported! PwnageTool activates the phone but you have to check this option, you will find instructions below.
For iPhone 3G:
- if you have firmware 3.1.2 installed on iPhone 3G but you do NOT have jailbreak with Spirit then you can update to 4.0 using a custom firmware made with this pwnagetool;
- if you have a non-jailbroken iPhone 3G you can update;
- if you have 3.1.3, it is possible that the update will not work from Recovery Mode but from DFU Mode.
For iPhone 3GS:
- iPhone 3GS with new bootrom is NOT compatible with PwnageTool;
- iPhone 3GS old bootrom is compatible with PwnageTool if you have NOT jailbroken with Spirit.
iPod Touch 2G:
- if it has an old bootrom, you can restore it with a custom firmware made with PwnageTool.
You must have jailbroken your phone (under the conditions explained above) otherwise the process will NOT work. If the phone is not jailbroken or is in Emergency Mode/Recovery Mode/DFU Mode then the process will NOT work.
Step 1
Download iOS 4.0 for your phone version here:
- iPhone 3G (iPhone1,2) 4.0 (8A293)
- iPhone 3GS (iPhone2,1) 4.0 (8A293)
- iPod Touch (2G) (iPod2,1) 4.0 (8A293)
It's best to download the firmware with Firefox because other download managers will unzip it, but if you've extracted using anything other than Firefox and the firmware has the zip extension instead of ipsw, then just change the extension from zip to ipsw.
PwnageTool 4.0 can be downloaded from: [download id=”59″]
Step 2
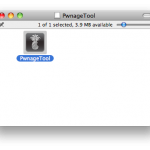
Mount the image with PwnageTool, connect the phone to Mac OSX and open the application.
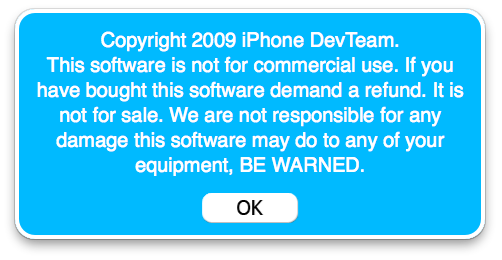
You will receive a warning message, press OK to continue.
Step 3
Select expert mode from the menu bar.
Step 4
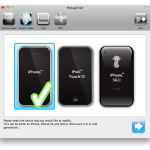
Select the iPhone version for which you are doing the ipsw.
Step 5
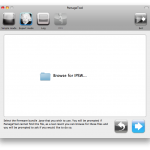
Press continue and you will be asked to search the computer for the location where you downloaded the Apple firmware. Press the broswe button and go to the relevant directory. There is a possibility that the firmware will be found automatically if you copy the application to the folder where you downloaded the firmware.
Choose the firmware, then press continue.
Step 6
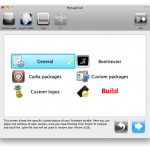
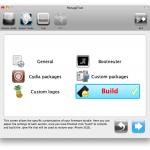
You will arrive in front of a menu with 5 options that give you the opportunity to customize the firmware. The General option will take you through all the secondary options of PwnageTool, so choose General and press the blue button to continue.
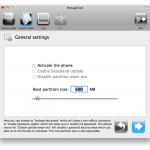
All those who NU have a card of the operator from whom the phone was taken, in order to do the activation you must check the "Activate the phone" option, leave the other 2 options unchecked and if you want you can choose to increase the space allocated to the system partition of the phone, then press the blue button to continue.
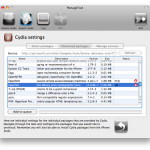
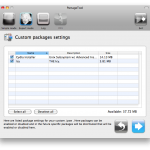
The packages settings option will give you the possibility to select .deb files to be installed automatically in the restore process. Click on the Download packages tab, double-click on the desired applications to download them, then select what you downloaded and press the blue button to continue.
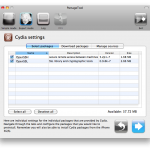
You will be brought to a window where only the selected applications will appear, press the blue button to continue.
You will now reach the menu for installing packages, leave Cydia checked and press the blue button to continue.
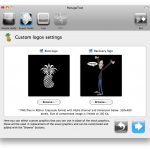
The Custom Logos Settings option will give you the opportunity to change the boot logos. Press browse to choose the images from your computer, but they must not be larger than 320×480 and must be .png files.
Press the blue button to continue.
Step 7
You will reach the initial page of optuni. To start the process press the build button then the blue button to continue.
Step 8
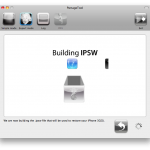
You will be asked to choose the location where the custom ipsw will be saved, choose it, click and click save to start the process. The process can take up to 10 minutes or more, depending on your computer.
You will be asked to enter your username and system password, which you must specify to continue the process.
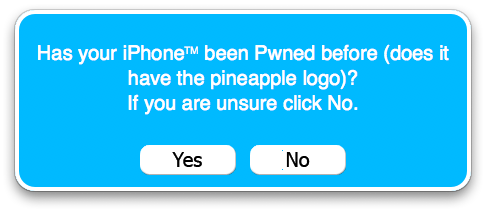
You will receive a warning message in which you will be asked if the iPhone has ever been jailbroken. It is best to press No if you do not know or are not sure of the answer.
Step 9
After PwnageTool finishes creating the custom ipsw, it will ask you to turn off the phone. ATTENTION this step is necessary! You must have your phone connected to your computer to continue the process.
Step 10
If you put the phone in DFU Mode, do it ONLY by following the instructions in PwnageTool, otherwise use Recovery Mode to restore.
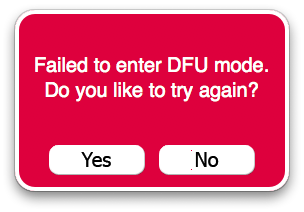
If the process fails, you will be greeted with a message similar to the one below, what you need to do now is to press Yes, remove the USB cable from the phone, close it, open it again, connect it again to USB and get ready to redo the process.
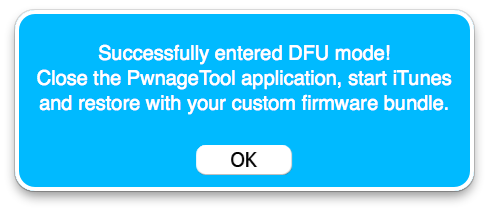
If you manage to enter the phone in DFU Mode, a message like this will appear:
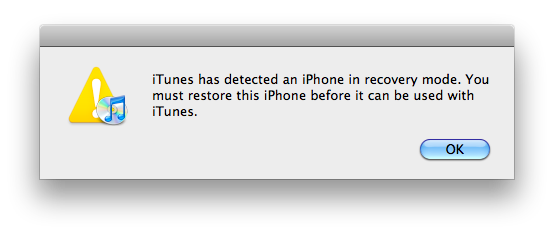
If you have iTunes open, the following message will appear. If you haven't opened iTunes yet, you can do so.
Step 11
Simultaneously press Alt/Option to select the created custom ipsw and to start the restore process.
After the installation is finished the phone will restart but it will NOT be decoded, to do the decoding you need to install ultrasn0w from Cydia, you have a tutorial here.
If you followed the steps carefully then you should now have a jailbroken and unlocked phone on iOS 4.0.
CONGRATULATIONS! You have a jailbroken phone, if you have other questions or problems you can ask me in the support page here.


