This evening iH8sn0w released iFaith 1.4, a new version of the program with which we can save SHSH for any version of iOS installed in our iDevices. This is the only program that does this no matter what version of iOS you have installed in your terminal and it is the only program that saves a usable SHSH for iOS 5/5.0.1. Unfortunately iFaith saves SHSHs only for terminals released before iPad 2 and iPhone 4S, so unfortunately you don't have much use for it if you have a new iDevice.
Here I showed you how to save an SHSH using iFaith and before you do it this tutorial you better follow that one, if you haven't already, because you'll need that SHSH for iOS 5. That said, here's how you can save an SHSH for iOS 5/5.0.1 and how to use in a custom ipsw to restore.
iFaith is compatible with:
- iPhone 3GS;
- iPhone 4;
- iPad 1;
- iPod Touch 3G;
- iPod Touch 4G.
Before starting, I have to warn you about two things: Bitdefender will close iFaith when it starts exploiting the terminal's iOS and the program itself is extremely poorly made so that during the SHSH saving it could close out of nowhere .
Step 1
Download iFaith 1.4 available here.
Step 2
Follow this tutoriall to save the SHSH.
Step 3
After saving the SHSH, close iFaith and reopen the program.
Step 3
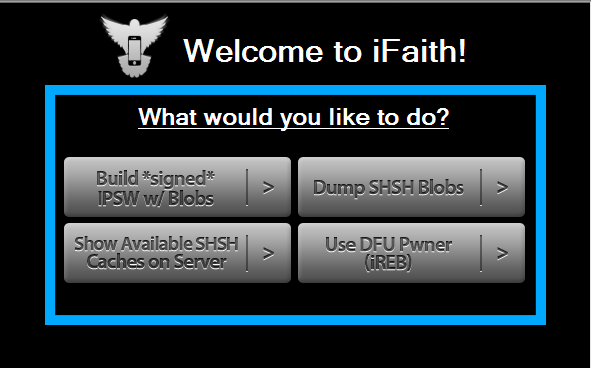
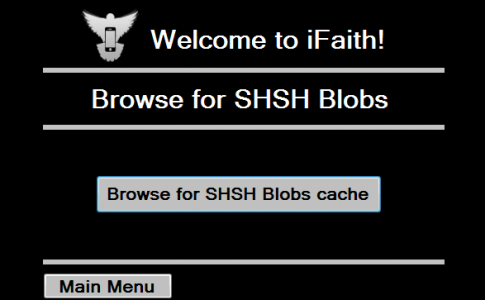
Press the Build *signed* IPSW w/Blobs button. After pressing the button, select the saved SHSH if it does not appear automatically in the program and follow the steps to make custom ipsw.
Step 4
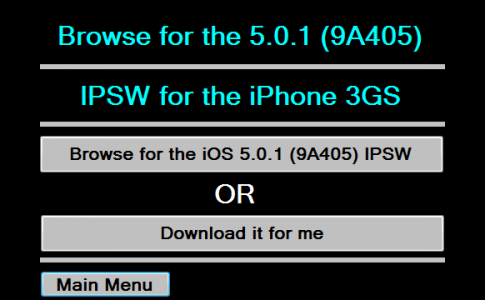
After you have selected the SHSH from the computer, you will have to select the ipsw for the iOS version to which you want to customize the ipsw. You have either the option to select a location on the computer where you have the ipsw saved or the option to download it through iFaith.
Step 5
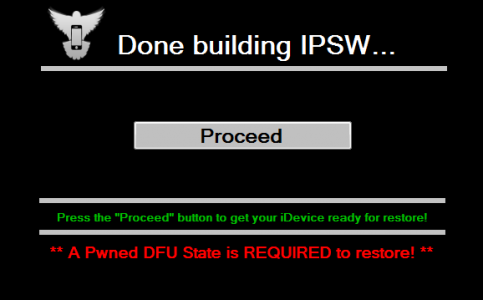
After you have selected the ipsw, the program will confirm that that ipsw is good by pressing the button Build ipsw you will make a custom ipsw that has SHSH included.
Step 6
After you have made the custom ipsw, you must enter your iDevice in Pwned DFU Mode and iFaith will show you how.
Step 7
After you have made the custom ipsw, save it on the desktop (with a name like 000000767201C3CC_iFaith_iPhone_3GS-5.0.1 (9A405)_signed) and the terminal in Pwned DFU Mode, open iTunes and holding down the shift key (option +o on Mac) press the Restore button in iTunes, choose the ipsw and let iTunes restore.
After the process is finished, you will have iOS 5/5.0.1 installed but without jailbreak, which you will have to do separately.


