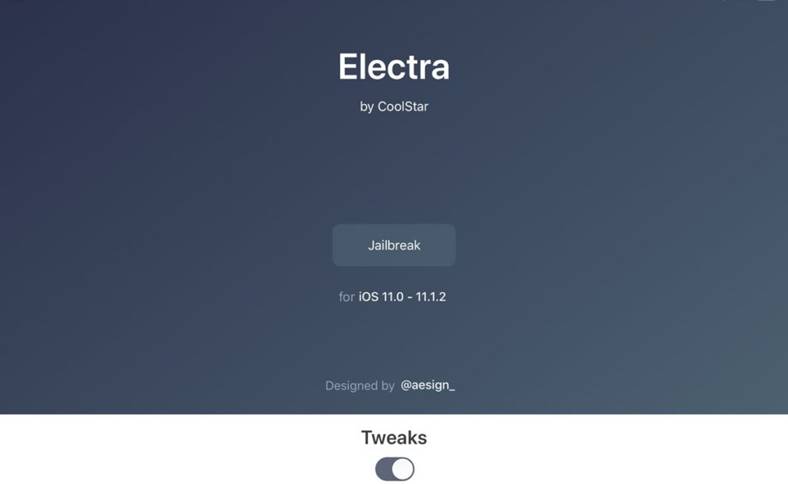
Just a few minutes ago evasi0n7 was launched by the team Evad3rs, this being the first solution of untethered jailbreak for iOS 7 published for users. Software available for operating systems Windows si OS X allows us to make untethered jailbreak for anyone iPhone, iPad si iPod Touchcars can run iOS 7, being compatible even with beta versions of iOS. Unfortunately evasi0n7 does not hack, so you will not be able to activate an encrypted iPhone on a foreign network and you will not be able to activate an iPhone/iPod Touch/iPad that has Activation Lock active.
Before starting the procedure jailbreak make sure you have backed up your iDevice with iTunes and follow the tips given below by the hackers from the Evad3rs team:
- Backup your device using iTunes (or iCloud) before using evasi0n. If something breaks, you'll always be able to recover your data.
- Please disable the lock passcode of your iOS device before using evasi0n. It can cause issues.
- Avoid all iOS and iTunes related tasks until evasi0n is complete. Why not just enjoy a brief break from the computer to stretch your legs?
- If the process gets stuck somewhere, it's safe to restart the program, reboot the device (if necessary by holding down Power and Home until it shuts down), and rerun the process.
- If you get an error on OS X 10.8 saying that evasi0n can't be opened, control-click (or right-click) the app and on the revealed context menu, choose 'Open.' On the ensuing dialogue box, choose 'Open' as well.
evasi0n7 do untethered jailbreak for:
- iPhone 5S;
- iPhone 5C;
- iPhone 5;
- iPhone 4S;
- iPhone 4;
- iPod Touch 5G;
- iPad 2;
- iPad 3;
- iPad 4;
- iPad Mini;
- iPad Mini with Retina Screen;
- iPadAir.
evasi0n7 is compatible with:
- iOS7;
- iOS7.0.1;
- iOS7.0.2;
- iOS7.0.3;
- iOS7.0.4;
- iOS 7.1 beta 1;
- iOS 7.1 beta 2.
IFor some users, the jailbreak procedure gets blocked after the last restart, so either make a backup beforehand for all data, or postpone the jailbreak because the only solution is a restore, and details are at the end of the article or in this article. Cydia has performance problems because of this jailbreak, details being available here.
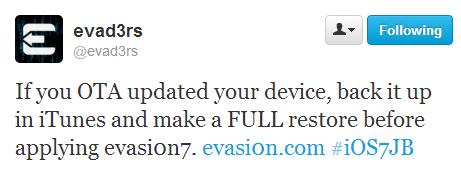
UPDATED: If you have done an OTA update to the iOS version now installed in your terminals, DO NOT use evasi0n7 until after you do a complete restore of the device, with a backup first. iDevices with OTA UPDATE done cannot use evasi0n7 to jailbreak.
UPDATE 2: evasion7 automatically disables all Push notifications for applications and details you have in this article.
UPDATE 3: If the jailbreak process gets stuck at some point, press the Home + Lock buttons simultaneously until the apple appears on the iDevice screen and repeat the procedure.
UPDATE 4: Here you can find the list tweaks compatible with iOS 7.
UPDATE 5: Here you find p0sixspwn jailbreak, a method to jailbreak iOS 6.1.3, iOS 6.1.4 and iOS 6.1.5.
Step 1
Download evasi0n7 available here.
Step 2
Connect your iDevice to the PC and close iTunes. Unfortunately, the procedure does not work in Windows 8, the Windows SmartScreen system refusing to run the program. You can disable Windows SmartScreen by following these steps.
Step 3
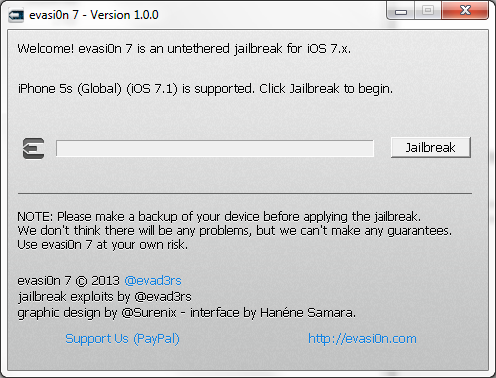
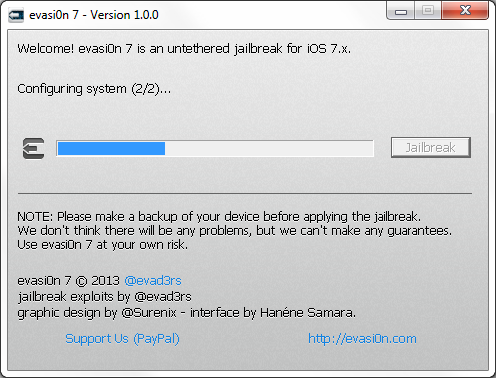
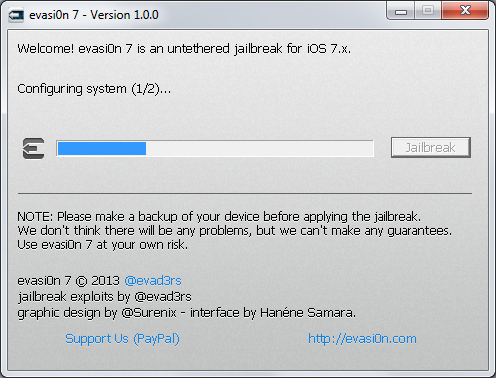
Open the evasi0n7 program/application and press Jailbreak.
Step 4
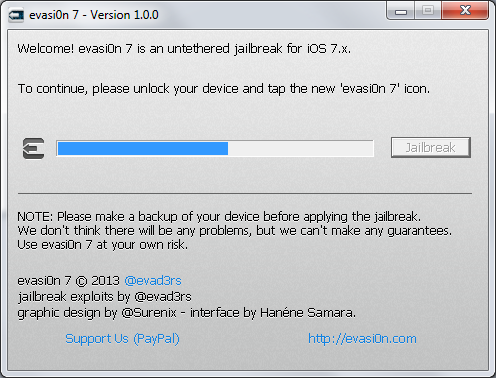
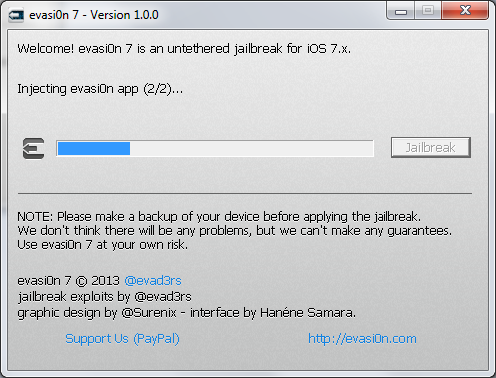
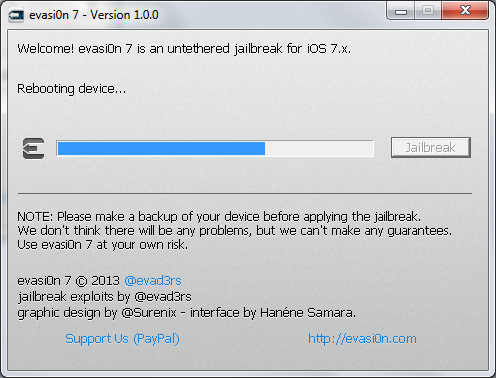
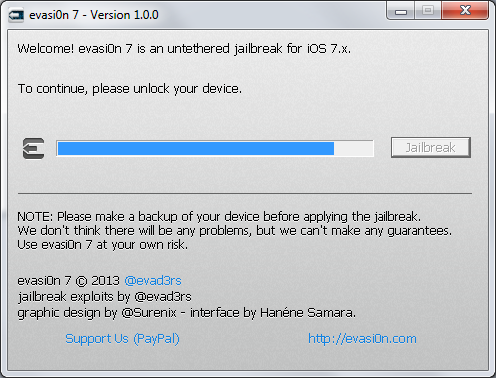
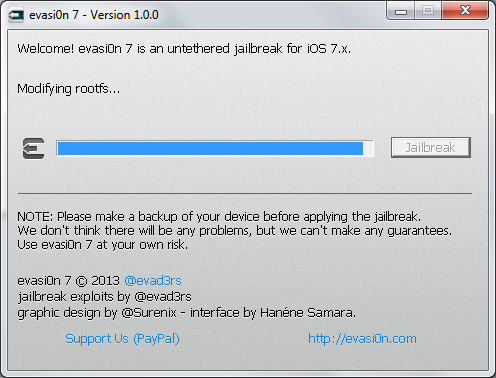
Wait until evasi0n7 makes the changes, it could take up to 5 minutes, then unlock the terminal in case of a reboot, if you have a security code set. At the request of the program, access the Evasi0n application present in your Springboard and wait.
Step 5
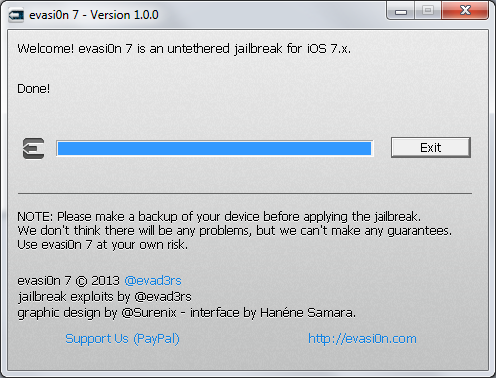
Unlock the terminal again if asked, and evasi0n7 will make the changes by itself until you see the message below, your iDevice resetting and restarting itself. This is the whole procedure, and at the end your terminal should be jailbroken.
If the jailbreak procedure will leave the terminal in a boot loop, then simultaneously press the Home + Lock buttons until the iDevice screen closes, then release the Lock button and just keep the Home button pressed until the computer recognizes the terminal. At this moment, open iTunes and perform a restore.


