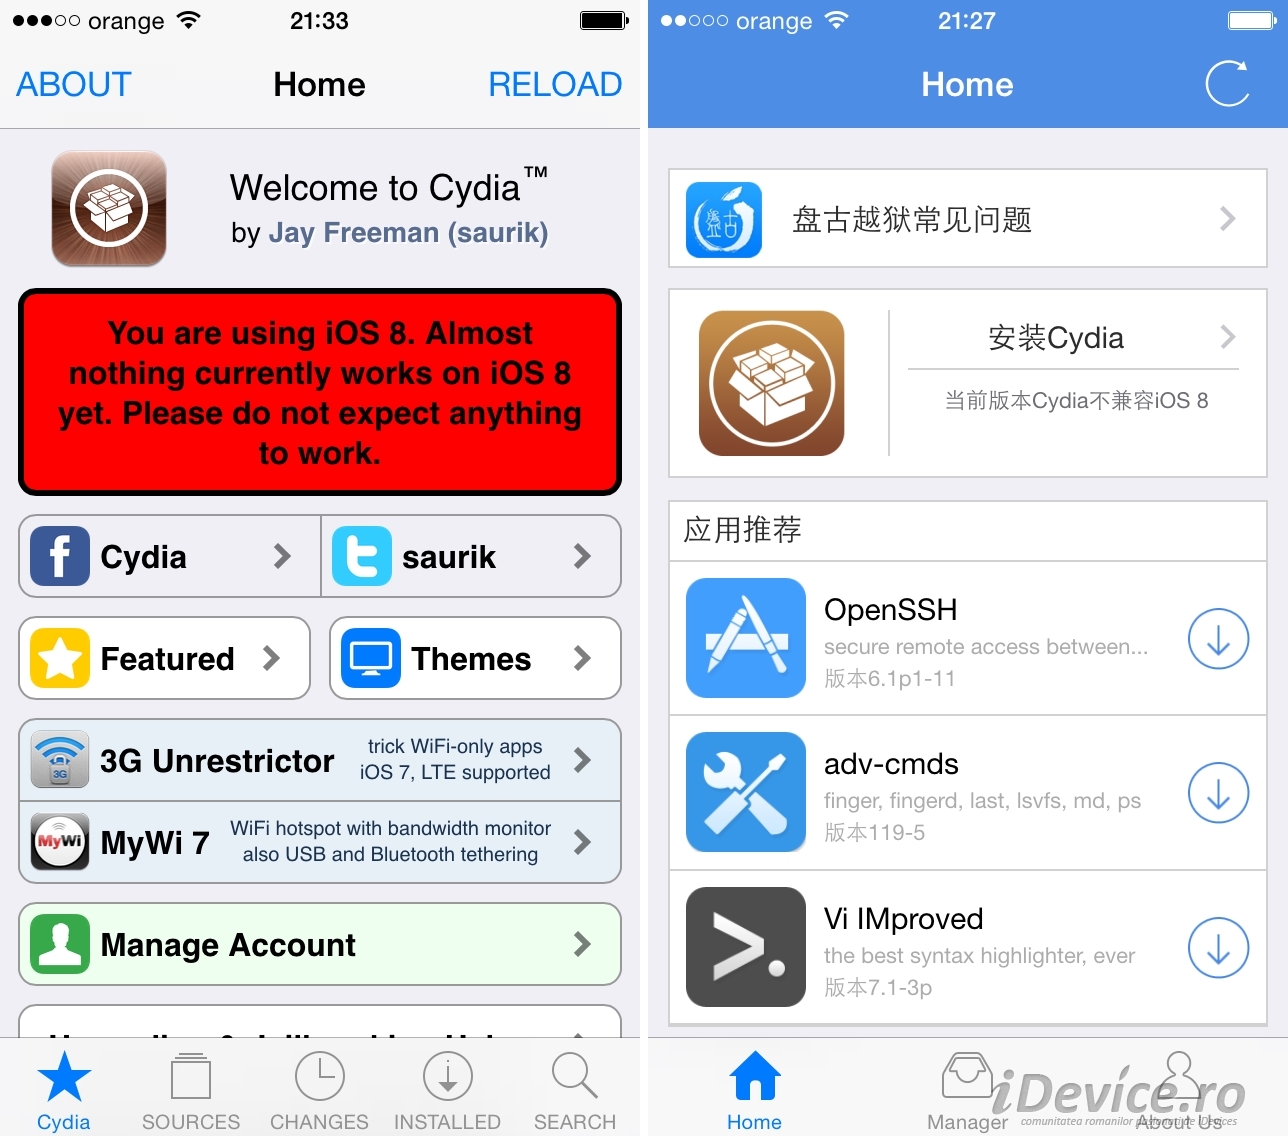
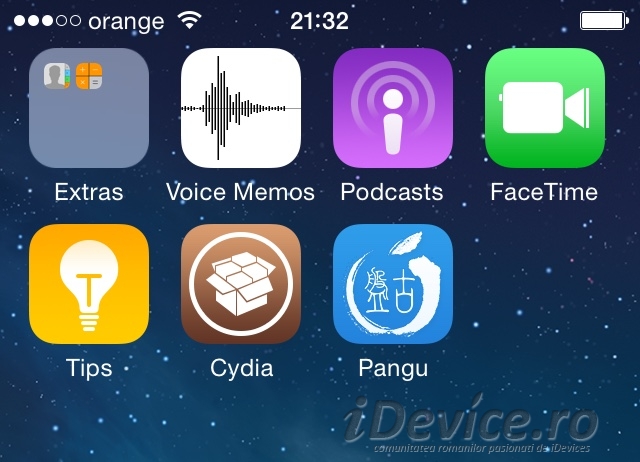
 Jailbreak iOS 8.1 has been available for a good few hours for iPhone, iPad and iPod Touch, and for a few tens of minutes we also have a version of Cydia which is compatible with iOS 8.1 and can be installed in a few simple steps by you. Unfortunately at the moment the compatibility of Cydia with iOS 8.1 is limited only to installing the application in our terminals and accessing the data from its various repos, because the rest of the applications and tweaks are not yet compatible with this version of the operating system.
8.1 iOS jailbreak must be done beforehand and by following the instructions below you will install Cydia in a few simple steps and although in theory you should not encounter any problems, it is still advisable to make a backup of your data in the event that you are forced to restore. This procedure can only be done after you jailbreak iOS 8.1, and you can find a suitable tutorial on the first page.
Before going through the tutorial, read this article, otherwise you will follow the procedure for nothing.
Cydia installation tutorial after iOS 8.1 jailbreak Pangu
Step 1
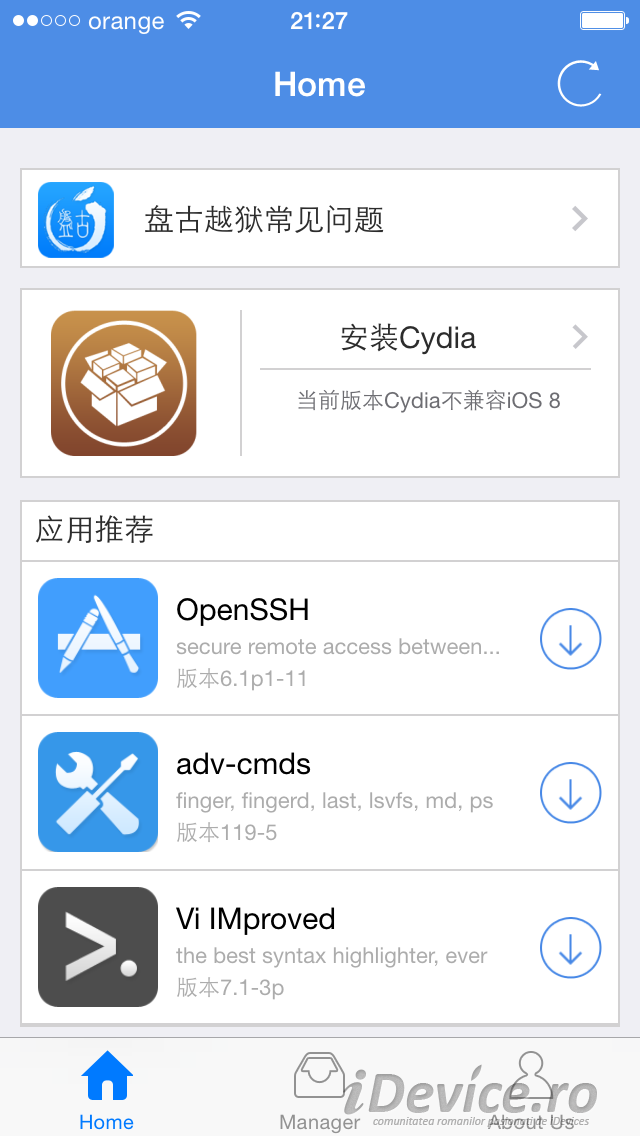
In your terminal open the Pangu application and install the OpenSSH package to access your terminal using a Wi-Fi connection.
Step 2
After the quick install of this package you will need to download WinSCP available here. After the download is complete, install it on your computer. Also download the required files of Cydia from here.
Step 3
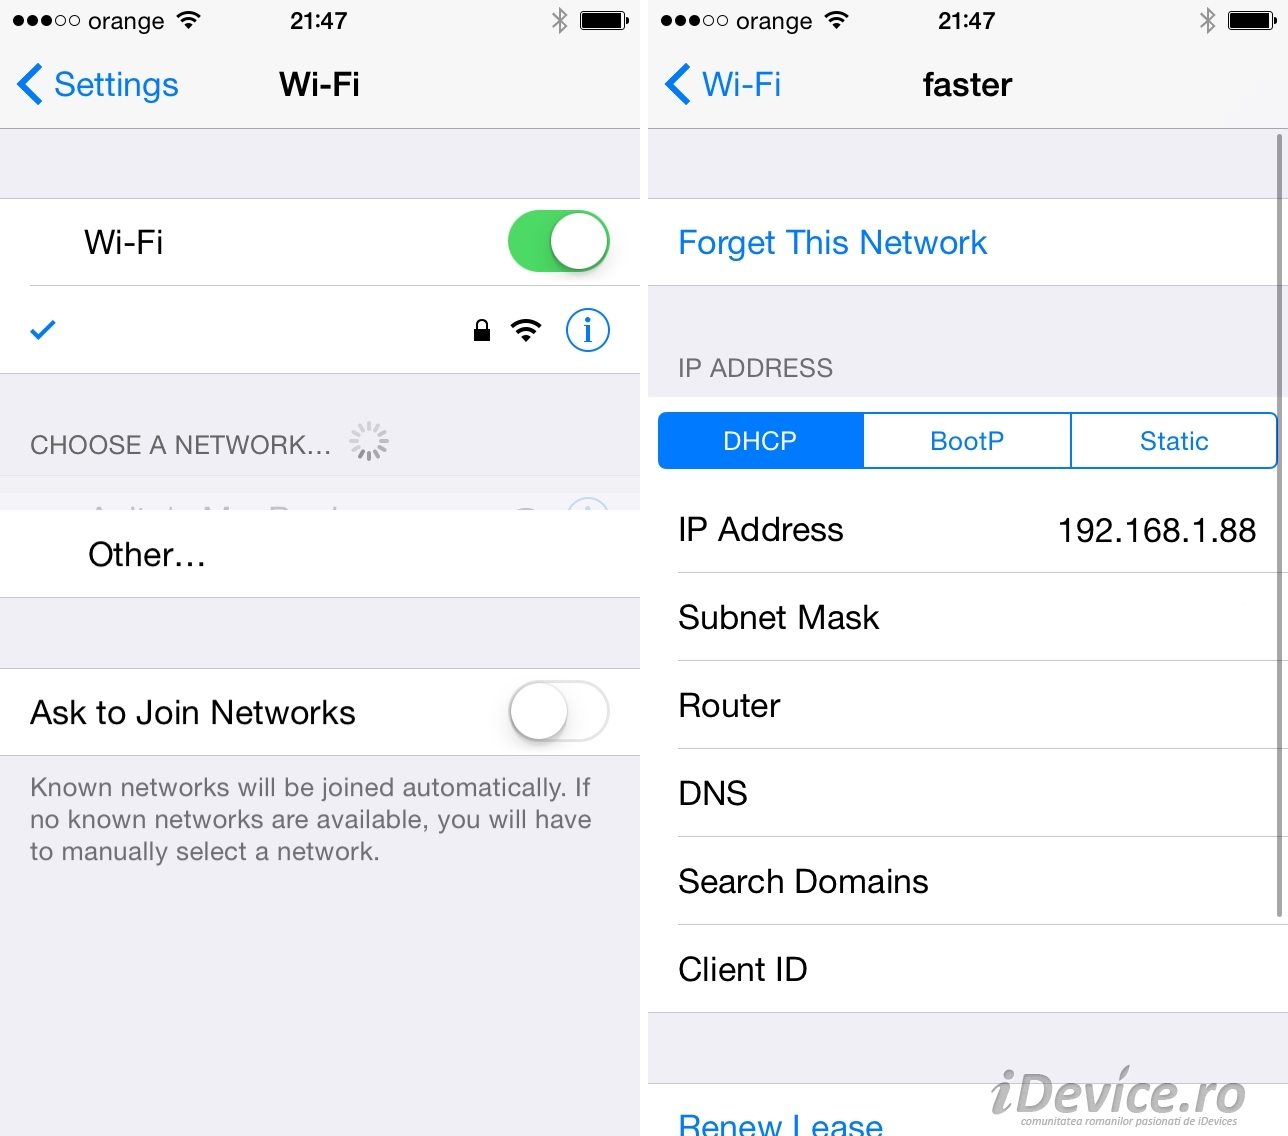
In your terminal, open the Settings application, go to the Wi-Fi menu and press the blue button i circled next to the name of the network you are connected to. In the new menu that opens you will need to write down the IP address, or the digits in the IP Address field, because they will be used in WinSCP for connection.
Step 4
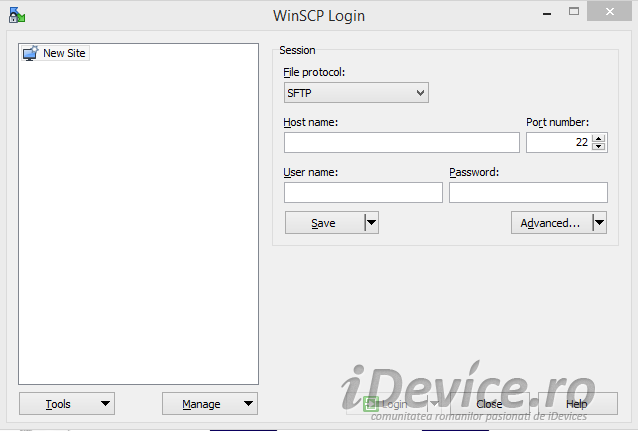
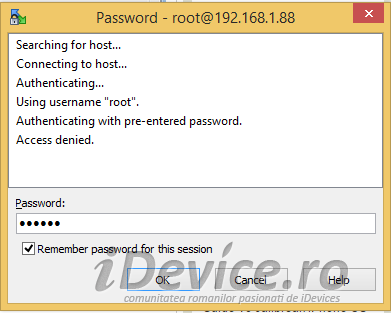
Open WinSCP, choose SCP as the File Protocol, then enter the IP address noted earlier in the Host Name field. As username use the word root, and as password the word alpine, then press Login and accept the alert displayed after logging in.
Step 5
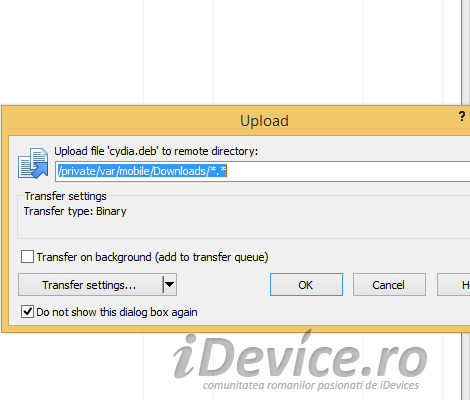
You are now connected to your iDevice and will be able to access its system files. Using the WinSCP interface navigate to var/mobile/Downloads and copy the files .deb of previously downloaded Cydias, but before that give them as short a name as possible, keeping the .deb extension.
Step 6
Without leaving the folder where you copied the .deb file, go to the Commands option in the upper right menu of WinSCP, then choose the Open Terminal option.
Step 7
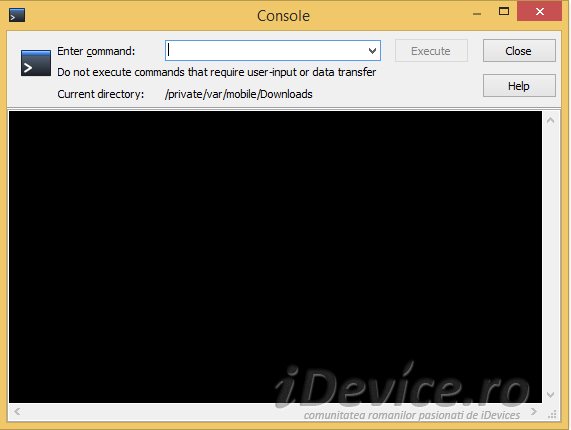
In the newly opened window, enter the following command in the Enter command field: dpkg -i filenamelproj.deb filenamecydia.deb and then press the Enter key or the Execute button. After pressing the button the installation procedure will be initiated and you will probably see an error telling you that the Cydia application could not be installed because it lacks certain dependencies.
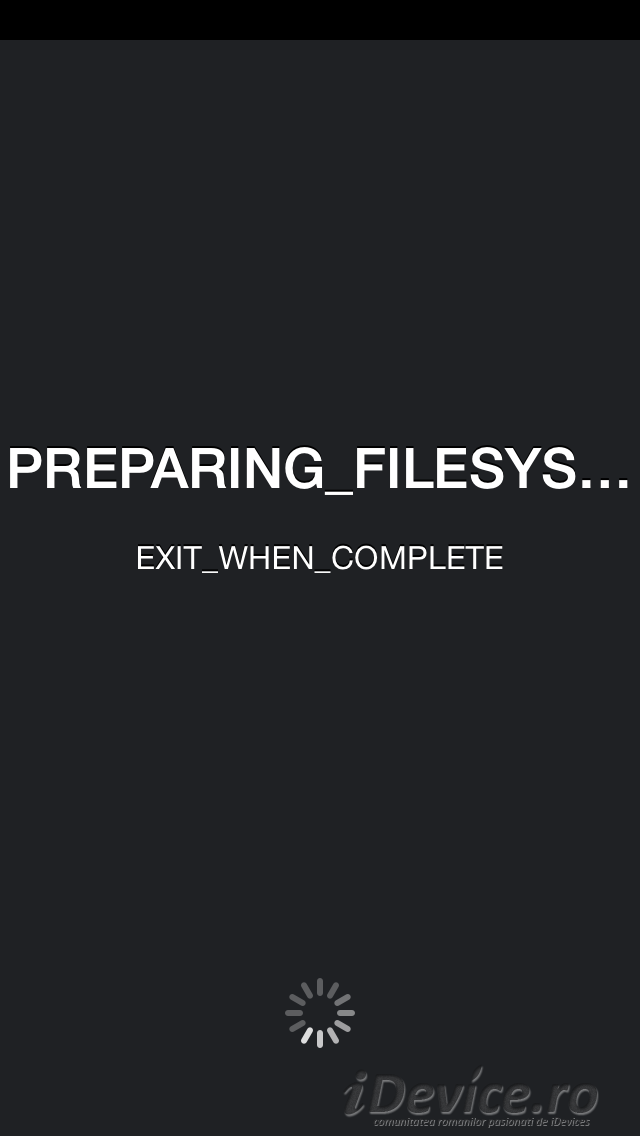
After displaying the error, restart the terminal and Cydia will be displayed in the main screen, and after a few minutes of placing the system files, it will be available for use.


