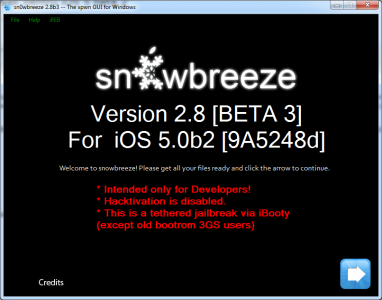
Today iH8sn0w announced the release of the third beta version of the sn0wbreeze program dedicated to users of the Windows operating system. sn0wbreeze 2.8 beta 3 makes untethered jailbreak for iPhone 3GS with old bootrom, but for terminals with new bootrom the jailbreak remains tethered. sn0wbreeze keeps the baseband intact during the restore, but iH8sn0w does not recommend those who need unlock to install this beta version considering that ultrasn0w is not compatible with it. Do not update to iOS 5 beta 2 using sn0wbreeze because the program does NOT hack your terminal, so you will be left with a blocked terminal.
sn0wbreeze 2.8 beta 3 is compatible with:
- iPhone 3GS (old bootrom) – UNTETHERED
- iPhone 3GS (new bootrom) – TETHERED
- iPhone 4 GSM – TETHERED
- iPhone 4 CDMA – TETHERED
- iPod Touch 3G - TETHERED
- iPod Touch 4 – TETHERED
- iPad 1G – TETHERED
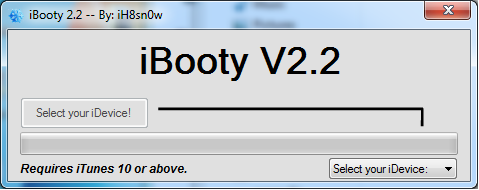
If you have baseband 06.15.00 you will be able to restore to iOS 5 beta 2 and iB00ty will help you get the terminal out of Recovery Mode.
sn0wbreeze 2.8 beta 3 works ONLY on Windows. The tutorial assumes that you have iTunes 10.5 beta 2 (installed) and iOS 5 beta 2 from an iOS application developer.
Step 1
Download sn0wbreeze 2.8 beta 3 de here.
Step 2
Change the extension of the firmware file downloaded in step 1 from .zip to .ipsw (if needed). If you are on Windows Vista / 7 then right click on sn0wbreeze and select Run as Administrator. You will receive a warning message not to distribute the program, press ok then press the blue button to continue.
Step 3
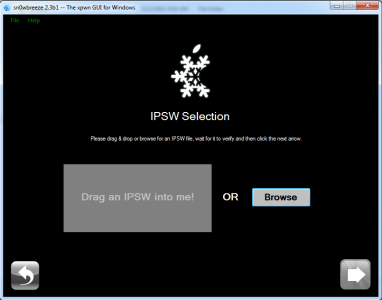
Now you will be greeted by a screen that asks you to search the computer for the place where you saved the iOS 5.0 eta 2 file, after the program checks the file then the ok sign will appear, then press the blue button to continue. iH8sn0w tried to implement a drag&drop module for files, but unfortunately it doesn't work properly, so I recommend you avoid using it.
Step 5
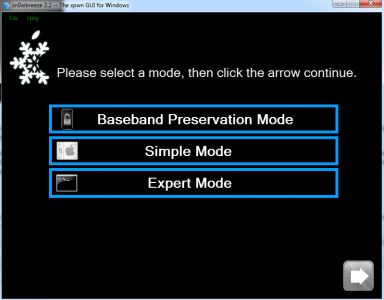
The program has 3 working options: simple mode, expert mode and baseband preservation mode. Simple mode will customize the ipsw based on preset settings, and expert mode will give you the opportunity to customize everything you want to insert in the firmware, in this tutorial I will explain expert mode. Baseband preservation mode will give you the opportunity to make a custom ipsw without jailbreak but which does not update the baseband. As iH8sn0w recommended avoiding the update to iOS 5 beta 2 if you need an unlock, I recommend you avoid doing this.
Step 6
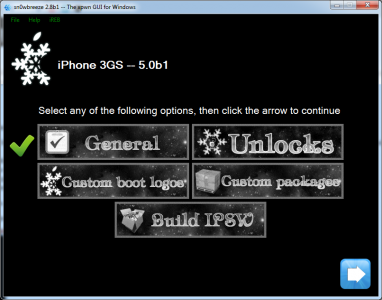
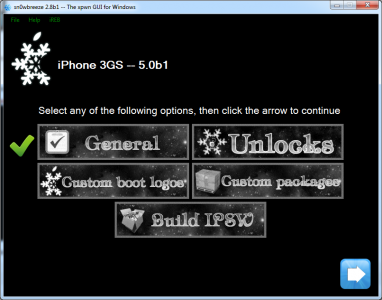
Now we get to the slightly more complicated things. In this screen sn0wbreeze it will show the options we have in the firmware configuration, the General option is the one that will take you through all the others, so we will select this one. Select General and then press the blue button to continue.
Step 7
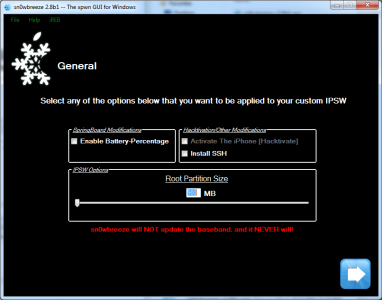
Now you will reach the screen that has only 4 options available compared to the previous versions. The first one is Enable Battery Percentage and allows activating the option to see the battery percentage; the second one allowed to hack the terminal but is not available; the third one awards the installation of OpenSSH which gives us the possibility to access the system files of the terminal via Wi-Fi; the fourth is Root Partition size which gives us the possibility to select the space allocated to the system partition, I recommend you to leave the value there. Press the blue button to continue.
Step 8
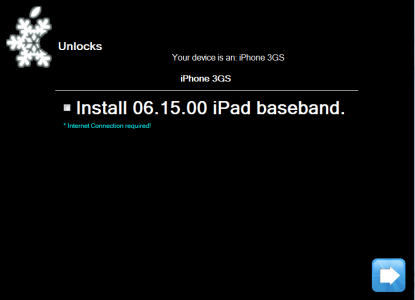
If you have an iPhone 3GS, in the next screen you will have the opportunity to update the iPad baseband which will allow you to decode an unblockable baseband. sn0wbreeze will automatically install the iPad baseband if you are connected to the internet and after installing the custom ipsw you will be able to install ultrasn0w and use the terminal. My advice is not to install the iPad baseband because you will lose the possibility of using the GPS integrated in the terminal, forever. You will never be able to downgrade baseband and you will have problems when restoring to new versions of iOS.
Step 9
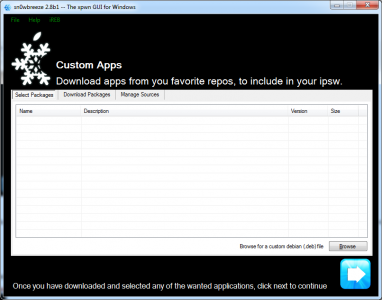
Now you will reach the menu where you can select applications from Cydia/from the computer to be automatically installed in ipsw. Select the desired .deb files from the computer using the browse option, then press the blue button to continue.
Step 10
After selecting the appropriate files, you reach the main menu where you must select Build ipsw to start the process by which your custom ipsw is made.
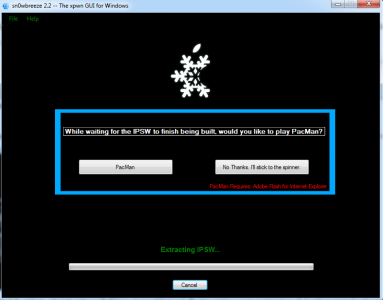
After pressing the blue button you will reach a menu where you can choose if you want to play PacMan or see the classic rotated.
To run PacMan you must have flash installed, unfortunately it didn't work for me even though I have flash so you can play with the option to see if it works.
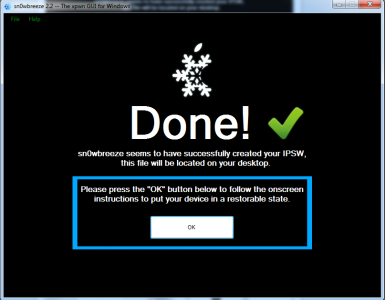
After you finish customizing the ipsw, you will see the message below.
Step 11
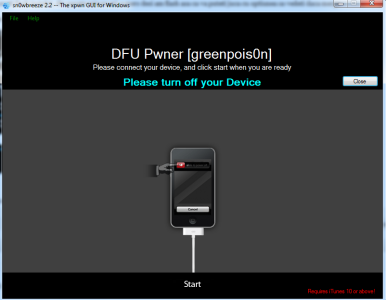
Now press the ok button to enter the terminal in Pwned DFU Mode using sn0wbreeze. It is very important to follow the steps below. Connect the device to the PC.
First, turn off your device.
- press the Power button for 3 seconds;
- while holding down Power press and Home and keep them pressed for another 10 seconds;
- release the Power button and hold only home and the device enters DFU Mode.
Step 12
After the process is finished, open iTunes, hold down the Shift button on the keyboard while pressing restore and select the custom ipsw made with sn0wbreeze, it should have this name sn0wbreeze_iPhone 4-5.0b2.ipsw and it should be on the desktop.
Step 13
Now that you have customized the ipsw and put the terminal in DFU Mode and restored, you must start the terminal in tethered mode to have a part of the jailbreak. To do this, go to the desktop and look for the folder iBooty-for-5.0b2. If you don't run iBooty, you won't be able to open Cydia/Safari in any way.
Open iBooty, re-enter the terminal in DFU Mode and iBooty will automatically restart it in tethered mode and you will have a jailbroken terminal ready to be used!


