Problems iPhone 3GS have been solved, but before starting the tutorial, please read the article this with his warning MuscleNerd!
This tutorial is addressed to them DONATE the owners of iPhone 2G/3G/3GS(with old bootrom) that had jailbreak before and only to those who NU au baseband 05.12.01. If you baseband 05.12.01 NU you can unlock your phone for now and this tutorial will help you do just that jailbreak your phone.
For now the iPod Touch is not supported by this version of sn0wbreeze, when it is I will make an announcement.
sn0wbreeze DO NOT UPDATE baseband, so you don't lose the opportunity to unlock in the future. Now let's start:
Step 1
Download a version of 3.1.3 firmware corresponding to your phone here. Then download sn0wbreeze v 1.4 from
Step 2
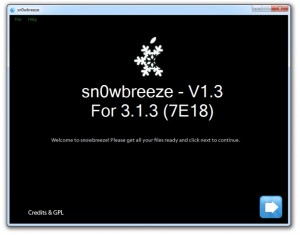
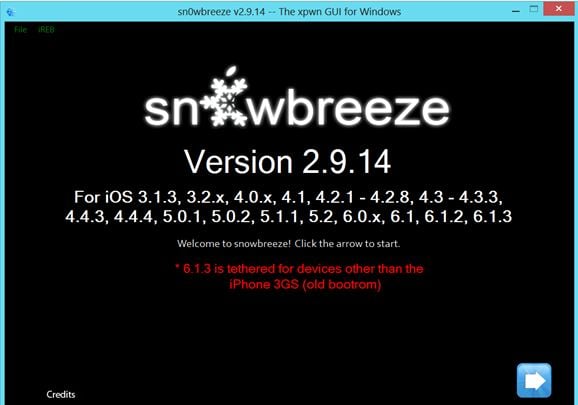
Change the extension of the downloaded firmware file from .zip to .ipsw and then open it sn0wbreeze. If you are on Windows Vista / 7 then right click on sn0wbreeze and select Run as Administrator. You will receive a warning message not to distribute the program, press ok then press the blue button to continue.
Step 3
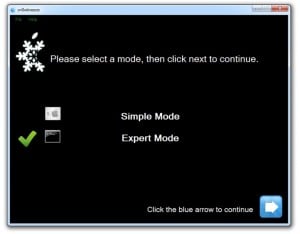
The program has 2 work options: simple mode and expert mode. Simple mode is the simplest and optionless method, and expert mode will give you the opportunity to customize everything you want to enter in the firmware, in this tutorial they will explain expert mode, so select the option and press the blue button to continue.
Step 4
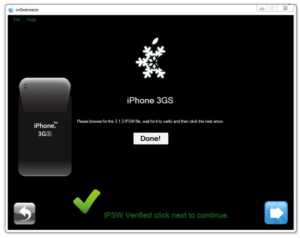
Now you will be greeted by a screen that asks you to search on your computer for the location where you saved the downloaded firmware 3.1.3 file and to open it, after the program checks the file and displays a message warning you that if you have an iPhone 3GS with you can't jailbreak the new bootrom using sn0wbreeze, then the ok sign will appear, then press the blue button to continue.
Step 5
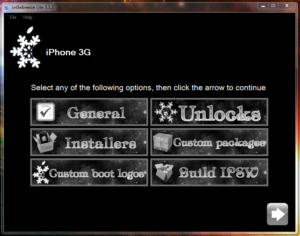
Now we get to the slightly more complicated things. In this screen sn0wbreeze it will show the options we have in the firmware configuration, the General option is the one that will take you through all the others, so we will select this one. Select General and then press the blue button to continue.
Step 6
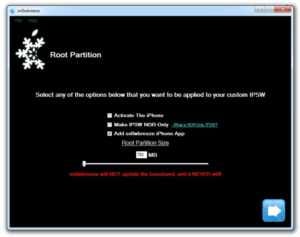
Now you will reach the screen that offers you the following options: 1 - the option to activate the phone, tick it if NU you have the card of the operator where the phone was purchased, if you have it or the phone is unlocked from the factory, then uncheck it and do the activation with iTunes; 2 - the option to set the phone to boot in Verbose Mode (I recommend leaving it unchecked, it does not affect the jailbreak/unlock); 3 - leave the option to add sn0wbreeze app checked (your option, it does not affect the jailbreak/unlock); 4 - you can select which space should be allocated to the system partition where the phone's operating system is stored, and everything you download from Cydia (it's up to you how much you want it to have). Press the blue button to continue.
Step 7
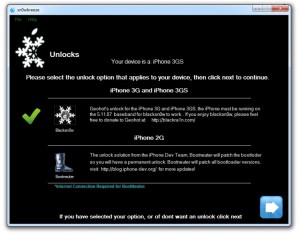
Here you select the desired decoding method and you have 2 options: 1 – the first option is DONATE for iPhone 3G / 3GS and from what I can see iH8sn0w only introduced blacksn0w for those with baseband 05.11.07 so if you use ultrasn0w before this update, do not select any of the options, select the one with blacksn0w DONATE if you use it before this tutorial; 2 – BootNeuter option DONATE for iPhone 2G. After selecting the desired option, press the blue button to continue.
Step 8
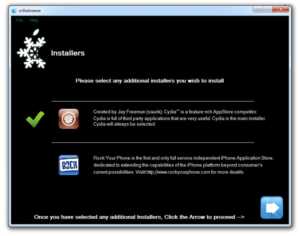
Select if you want to install Cydia/Rock or both then press the blue button to continue.
Step 9
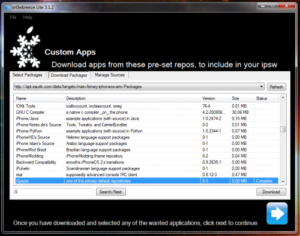
Here sn0wbreeze it will give you the possibility to insert in the firmware certain .deb files that will be installed together with the firmware. Select the desired .deb files from the computer using the browse option, then press the blue button to continue.
Step 10
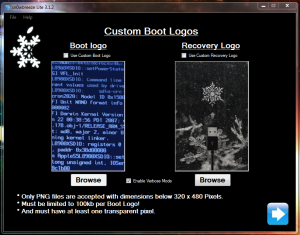
Now sn0wbreeze will give you the option to change the logo that appears when you open the phone or when you enter it in Recovery Mode. You can only select files in PNG format of maximum 100KB with a resolution of 320×480 pixels, use the browse function if you want to modify the ones there, otherwise uncheck or leave the respective option checked and press the blue button to continue.
Step 11
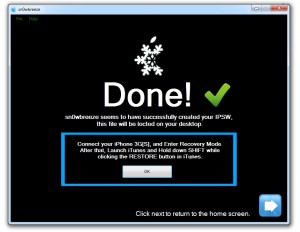
Now you will reach the main options menu again, select the Build ipsw option and press the blue button to create the custom ipsw. Let the program work, it might take some time, it depends on the configuration of your computer. After finishing the custom ipsw will display a message after which you can close sn0wbreeze, and you can start the restore process.
Step 12
Connect the phone to the computer, open it iTunes, hold down Shift while clicking on Restore, navigate to the newly created firmware and select it, iTunes will do the restore and at the end you will have a jailbroken and unlocked phone 3.1.3 firmware without baseband update.
Below is a video tutorial to help you:
If you have other questions or concerns, you can ask here.


